Thursday, July 3, 2014

Coat Three: White Again

Despite hurricane Andrew coming up the coast we get the third coat on today. It took about 3-1/2 hours.

While sanding isn't required between coats, the hard, little nubs of detritus require it.

We went through another two gallons today. Looks like the whole job will take 10 gallons; plus some to put on the areas the stands are currently covering. We changed out roller pans, roller covers and paint brushes between each gallon. On the last coat we didn't have to do this. I'm sure it's today's higher temperature that is making the difference.

Slowly working each barrier coat layer up towards the top of the bootstripe is working well. I was concerned about ridges in the boot stripe but sanding after each coat is smoothing things out.

Tuesday, July 1, 2014

Coat Two: A Battleship Grey Day

Today we began by sanding down the ridge of 2000E left behind when the bootstripe masking tape was removed. As the picture above shows, the 2000E ends just beneath the upper side of the bootstripe. Thus it's important that the transition between the 2000E and bootstripe be as smooth as possible.

To my surprise we used two gallons of 2000E today. While we could have gotten away with 1-3/4 gallons it was nice to have extra to go back and thoroughly cover voids and pinholes.

I'm disappointed in my fairing job. The shiny 2000E makes every void obvious. A long board rather than a random orbital sander should have been used.

Saturday, June 28, 2014

Coat one: Interlux 2000E

After each barrier coat the bootstripe tape comes off an the ridge is sanded
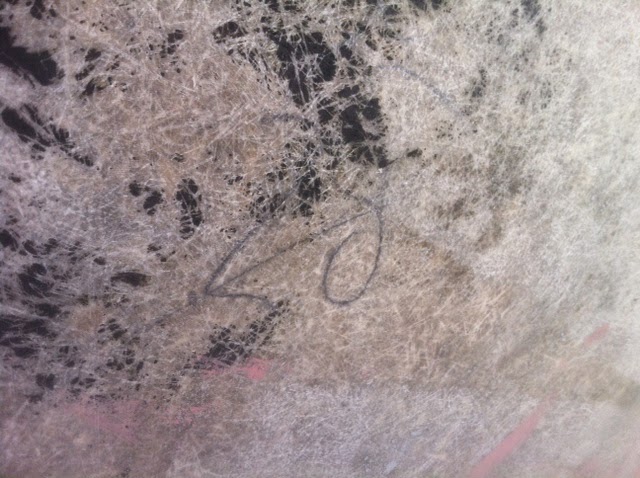
Pencil marks from the factory in the glass.
17288 stamped number in the prop
It took two gallons of Interlux 2000E to cover the bottom, rudder and prop. The first coat is supposed to use more than subsequent coats. My guess is that the next coat will take 1-1/2 gallons. The 1/4" length nap roller-covers work great. A paint brush is miserable to use--the material goes on too thick.. Pinhole voids are a real problem. A bunch of time was spent eliminating them. We put a good paint masking tape along the top of the of the old bootstripe. Another layer of tape, that'll be removed after each coat of 2000E, will extend downward from the bootstripe tape. The ridge left from the 2000E/tape interface will be sanded off before the next layer of 2000E is applied.

Tuesday, June 24, 2014

The Last Sand

Today we sanded off 90% of the fairing material that was applied yesterday. A 5" random orbital sander with 80 grit paper doesn't have enough power to cut through the filler quickly. Whereas an angle grinder with the same paper rips through the job. After the sanding was done we washed the boat (yet again).

As the photo attests, our trunk contains all the tools necessary for a DIY bottom job.

Sunday, June 22, 2014

Fairing On Again

Lots of fairing on the starboard bow
The second fairing coat went on today. Fairing seems to beget fairing as the filled areas make surrounding voids more visible. Gotta remember the mantra, better is the enemy of good enough.

Friday, June 20, 2014

What, Sanding Again?

Not sure why but we both thought sanding the Interlux filler would be easier. Actually it did come off easily enough, it was just that there was so much of it. Being up-close and personal also helped us spot more areas requiring fill. We used a 5" random orbital with 80 grit and a 7" angle grinder with 60 grit. Hands down the better tool was the angle grinder. Dust covered Nellie yet again, so the last job was to wash her with soap and water.

The idea now is to make each coat of Interlux 2000E 1/2" higher up the waterline than the previous coat. The last coat will be about 1/2" below the top of the bootstripe.

Thursday, June 19, 2014

Fairing

The Interlux two-part fairing goes on very nicely.  It was ~85F today and so the epoxy fairing was firing quickly.  Lost some of the first batch but never had a problem after that.

The fairing is used to smooth any gouges. 


Paying special attention along the water line